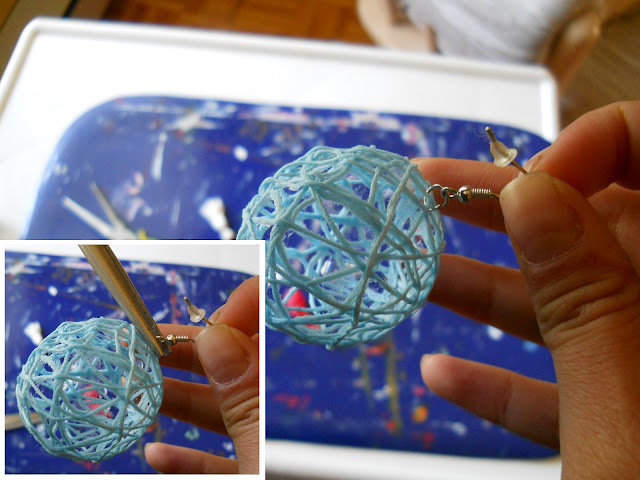
It's Sunday morning again! If you're like me, you have dozens of embroidery thread balls collected since childhood to make friendship bracelets, but just never got around to making THAT many of them. Here's another way to create greatness out that thread! Time to end the our week in happiness with this step-by-step guide to making your own embroidery thread ball earrings.
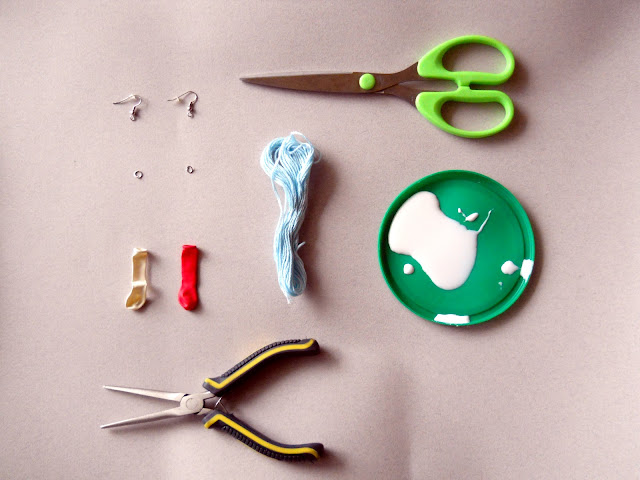
Materials you'll need:
- 2 earring hooks
- 2 jump rings
- 2 empty water balloons
- 1 pair of jewelry pliers (however, I managed with my utility pliers and so can you haha)
- 1 pair of scissors
- 1 'ball' of embroidery thread
- White liquid glue in a plastic container lid

Blow up the two balloons to desired size (I made bigger and smaller ones). It helps to stretch them out a bit before trying to blow in them.

Now cover about three inches worth of thread with the glue in the lid and apply it to the balloon. Repeat until you get something like the following picture

This is approximately what it should look like, however every earring will turn out unique. Now leave it to dry
completely (or else your ball will get all wonky)

Now's finally the time to pierce the balloons and pull it out.
Important:Keep a holding the part of the balloon that sticks out (unlike in the picture!) or else you might get stuck trying to fish it out

Finally, thread the earring hooks to the jump ring and secure it to the strand of glued thread of your choice. Where you decide to attache the jump ring affects the way your earring will hang, so choose wisely!

You can vary this technique to make different looks.
Hope you enjoyed this guide and most importantly, have a happy week!


